How to Effortlessly Deploy a React App on Google App Engine
Arnab das
4 min read · Oct 10, 2024
Deploying a modern front-end application can be a daunting task, but with tools like Google App Engine, it becomes a lot simpler. In this guide, I’ll walk you through the step-by-step process of deploying a basic Vite React app to Google App Engine. Whether you’re new to cloud deployment or looking for a simple solution to host your frontend-only app, this tutorial will help you get your project online quickly and efficiently.
Table of Contents
- Prerequisites
- Steps to Deploy a React App on Google App Engine
- Create Your App on Google Cloud Platform (GCP)
- Set Up Your Local React App
- Configure app.yaml
- Deploy Your App
- Conclusion
Prerequisites
Before you begin, ensure you have:
- A Google Cloud account with billing enabled.
- Google Cloud SDK installed on your local machine.
- A basic understanding of React and Vite.
- A GitHub repository with your React project (optional but recommended).
Steps to Deploy a React App on Google App Engine 💻
1. Create Your App on Google Cloud
Login to Google Cloud Console:
- Visit the Google Cloud Console and log in.
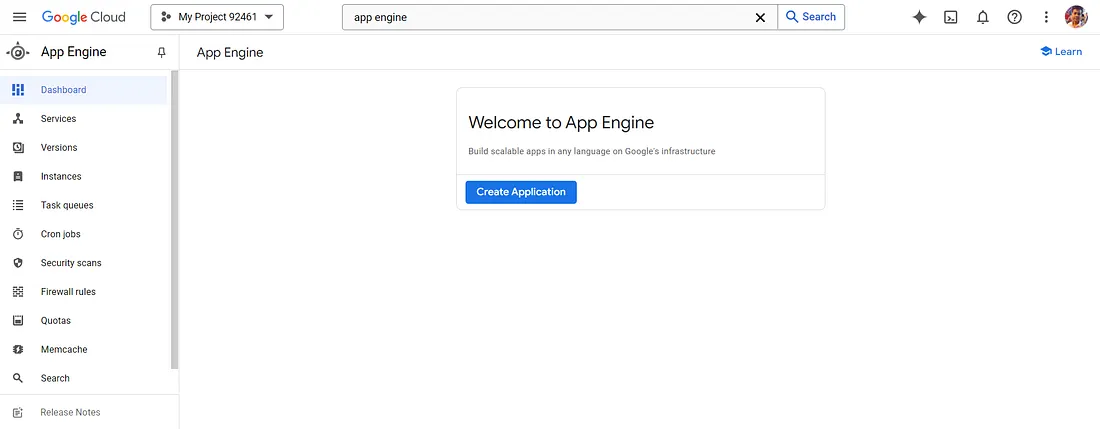
Search for App Engine:
- In the search bar, type “App Engine” and click on App Engine from the results.
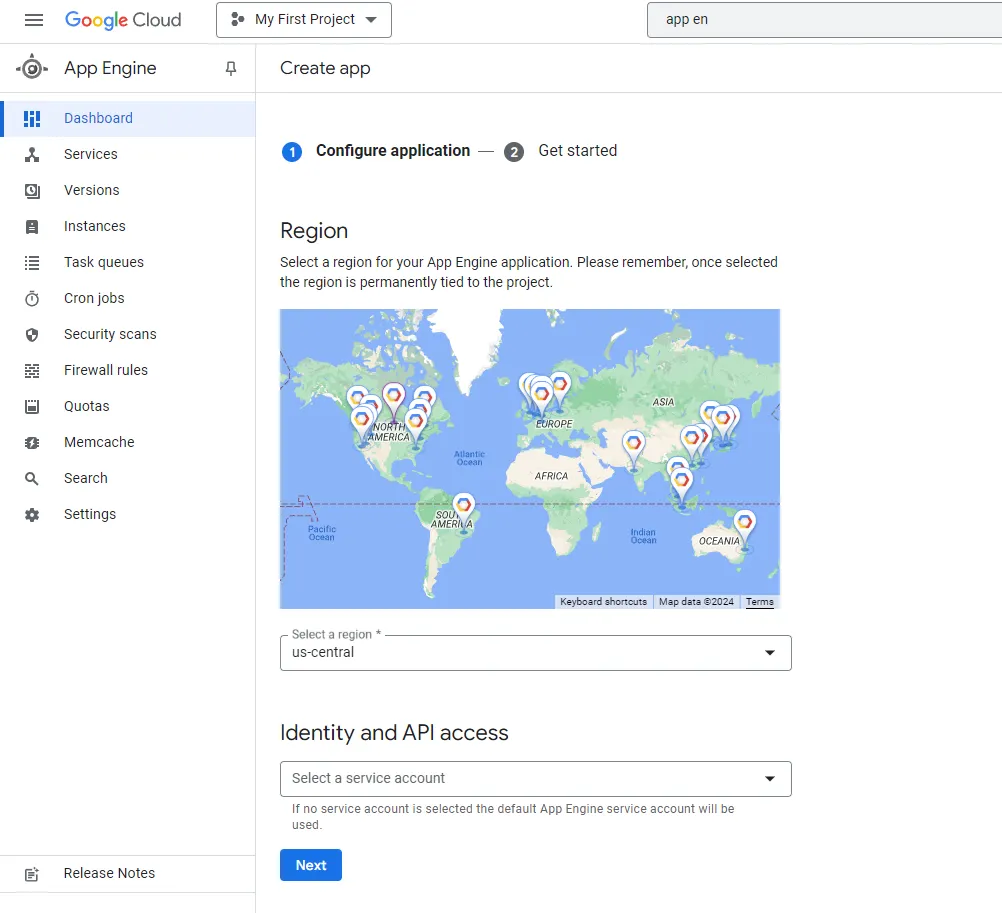
Create Application:
- Click the Create Application button.
- Choose your desired region for the app.
Set Up Service Account:
- Open the IAM & Admin section from the navigation menu.
- Go to Service Accounts, click Create Service Account, and assign the role of Owner.
Link Your Service Account:
- Return to the App Engine dashboard, and when asked to choose a service account, select the one you just created.
Choose Language:
- Select Node.js as the runtime language for your app.

Then you have to click next and your app engine will serve your application.
2. Set Up Your Local React App
Open your terminal and run the following commands:
npm create vite@latest my-project -- --template react
cd my-project
npm install
npm run build
3. Configure app.yaml
Create an app.yaml file in the root of your project with the following content:
runtime: nodejs18

instance_class: F1
env: standard

handlers:
  - url: /
    static_files: dist/index.html
    upload: dist/index.html

  - url: /(.*)
    static_files: dist/\1
    upload: dist/(.*)
runtime: nodejs18specifies the Node.js version.- The
handlerssection tells App Engine how to serve static files from thedistfolder, which contains your built React app.
4. Deploy Your App
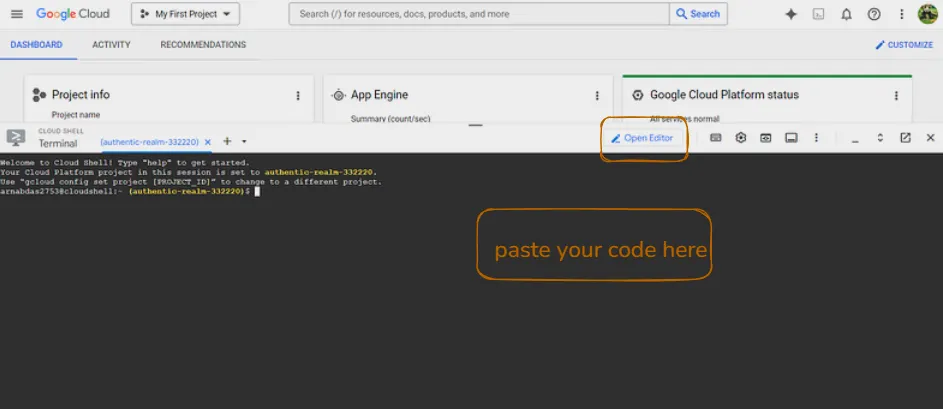
Deploy Using Cloud SDK: Open your terminal, make sure you’re in the root directory of your project, and run:
gcloud app deployConfirm the Deployment:
When prompted, type y to confirm the deployment process.
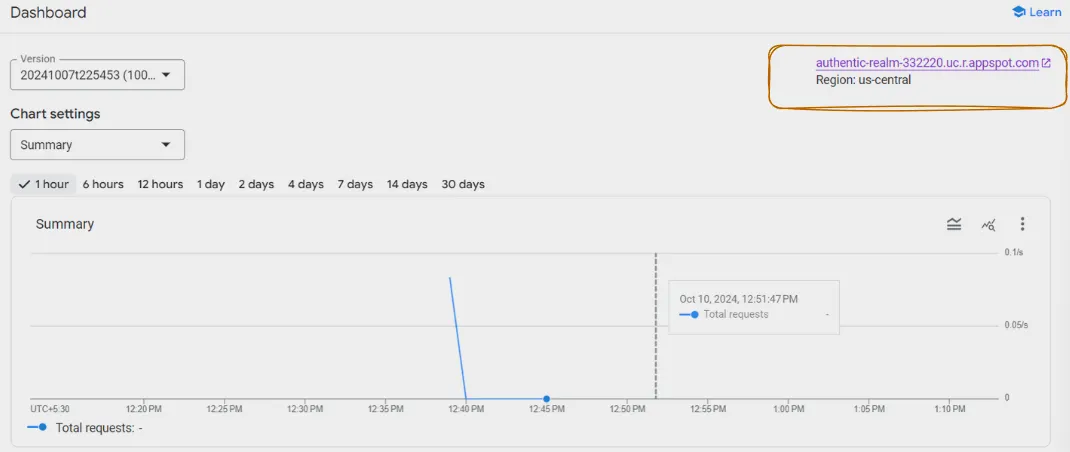
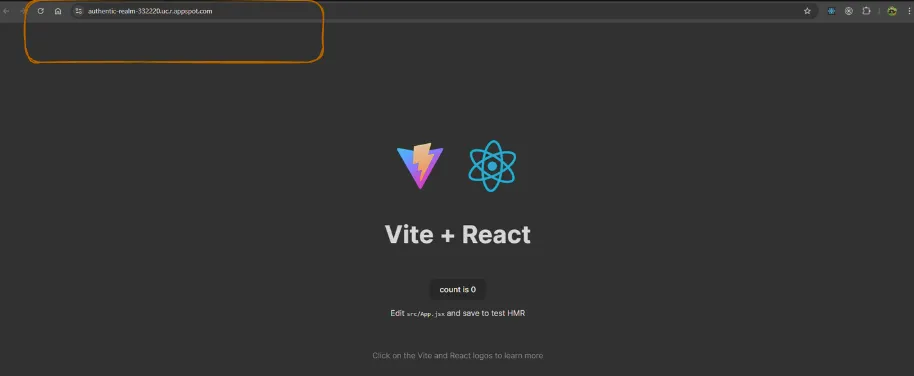
Access Your App: Once the deployment is complete, go to the App Engine Dashboard and you’ll see a link to your app at the top right. Click on it to view your live React application.
Conclusion
Congratulations! 🎉 You’ve successfully deployed your React app on Google App Engine. Google App Engine provides a robust platform to scale and manage your applications easily, and this simple setup can be the foundation for even more complex projects in the future.